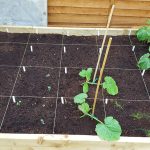
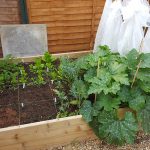
During the summer I made my first horticultural endeavour, growing some veg in a 6ft by 4ft vegetable planter from Quick Crop using the square foot planting technique.
The whole experience was a bit of a mixed bag, on the one-hand the courgettes, carrots and tomatoes did extremely well. On the other the courgettes and cucumbers kept getting diseases, the peppers just didn’t do anything, the onions didn’t survive more than a few days and the kale got eaten by Kale got eaten by caterpillars. Just to top everything off something nearby dumped a mountain of seeds into the planter so it needed almost constant weeding.
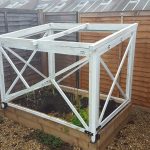
After a bit of research it was suggested at least part of the problem could be down to overhead watering, being in the UK assures frequent overhead watering so I needed a solution. A few ideas came to mind ranging from simple polytunnel, right through to replacing the raised bed with a greenhouse. I decided to go for something in between and build a greenhouse around the raised bed for a number of reasons:
- The soil will remain deep allowing for good carrots and potatoes
- The maximum height is greater than a typical polytunnel
- It should be comparable or cheaper than most greenhouses (although that’s not really what this is about)
- I can make the sides open allowing trailing plants like courgettes to spread out
- Should be a more effective insulator using multiwall polycarbonate for the windows allowing for winter growing
- I can use an Arduino to monitor and control various aspects of the vegetables environment
- I can build it to my exact needs
- It gives me an opportunity to learn some new skills
I came up with the following 3 phase build
- Build the greenhouse asap to allow for winter growing
- Hook up an Arduino to monitor conditions
- Expand the Arduino functionality to include a linear actuator for the roof and water control valve for automatic watering during the summer
I wish I could say the greenhouse phase was extensively planned, it was not, a few rough sketches and flying by the seat of my pants DIY was the plan! The rough build of materials is:
- 8x 47mm x 50mm x 2400mm treated wood
- 12x 19mm x 38mm x 2400mm treated wood
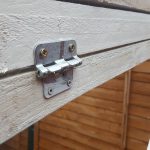
- 4x 50mm joist hangers
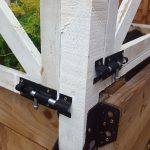
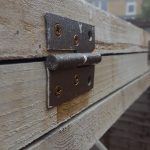
- 9x flight case hinges
- 3x lift off hinges
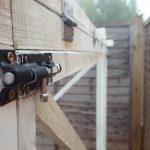
- 10x gate bolts
- Lots of screws!!
A few notes on the build of materials, almost everything I bought was after hunting for the cheapest merchant (ebay and small local merchants are your friend), the links provided were just the first I found on Google as examples. I chose treated wood for longevity although I am aware of the concerns using treated wood around vegetables, however I decided that as the wood would mostly be protected from the elements, covered by paint, not directly contacting the soil and the most dangerous treating chemicals have now been banned I should be safe. I even found instances of people building planters using treated wood, I wouldn’t go that far but it showed the dangers should be minimal.
The next challenge is getting the windows in. After a long delay the polycarbonate sheet turned up a few days ago, I quickly chopped it up to the rough size required an moved it inside until the tape, closures and fixings arrive.
Assuming we have dry weather this weekend the windows will be going in!
